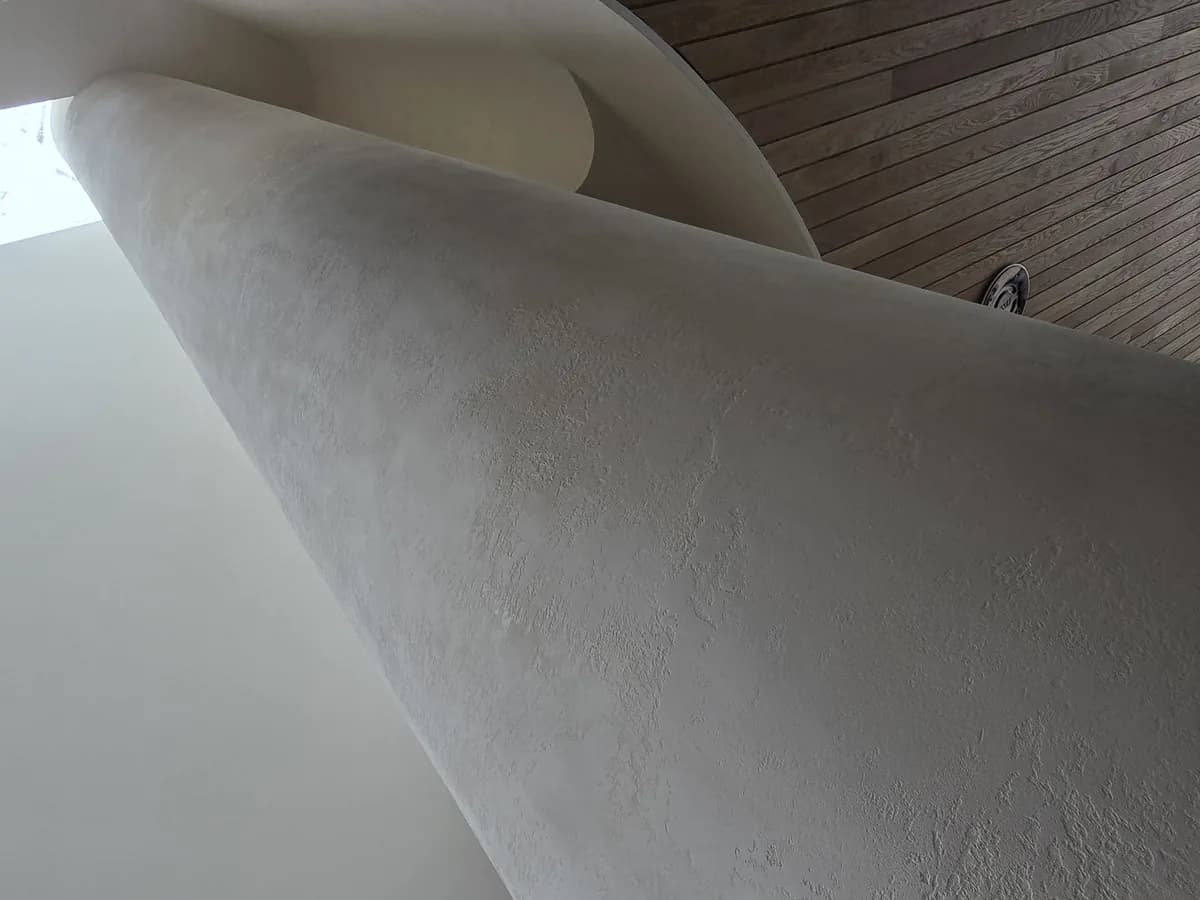
Microcement walls
Microcement walls in Melbourne, from flat planes to curved forms.
SurfaceLab provides microcement wall finishes for homes and commercial interiors across Melbourne and Victoria, from feature walls and kitchens to curves and built forms. Each wall system is prepared around the substrate beneath it.

Applications
Where microcement walls are used.
Microcement can create a continuous decorative finish across flat walls, curves, niches and selected built forms where an appropriate system is specified. Because the finish is applied by hand, it can follow changes of plane and continue across surfaces that would otherwise need separate materials.
Feature walls
Living spaces, entries and stairwells with controlled texture and tonal movement.
Kitchens
Walls, splashback zones and suitable built forms considered for water, heat, staining and cleaning at each location.
Curves and built forms
Curved walls, niches, plinths and other architectural forms finished in one continuous material.
Ceilings
Light-wear decorative finishes on suitable ceilings, often connecting with walls below.
Commercial interiors
A consistent decorative finish across hospitality, retail and workplace surfaces, specified for contact and cleaning.
Preparation
The finished wall reflects the work below it.
Joints, substrate transitions, existing coatings and waterproofing compatibility need to be considered before decorative layers begin. Defects or movement in the wall behind can remain visible through a thin decorative finish, so preparation is planned as part of the system.

By substrate
Preparing walls for microcement.
Wall substrates vary more than most people expect. The right primer, any reinforcement and the number of base layers depend on what the wall is made of and the condition it is in.
Plasterboard and sheet linings
Sheets need to be correctly installed and stable. Sheet joints, fixings and transitions between materials are treated before base coats so they are less likely to show through.
Render
Rendered walls are checked for soundness, cracking, porosity and loose or weak areas, then primed to suit the surface.
Existing tiles
Firmly bonded wall tiles may be retained. They need thorough cleaning, a suitable bonding primer and treatment of grout joints so the pattern does not telegraph through.
Waterproofed walls
Compatibility between the waterproofing membrane and the microcement system is confirmed first. The decorative finish does not replace required waterproofing.
Painted or coated walls
Existing paints and coatings are assessed for adhesion and compatibility. Some need removal or extra preparation before microcement can be applied.

Texture that changes with the light.
Microcement is applied by hand, so tone and movement develop as each coat goes on. Raking light from windows and downlights reads that texture strongly, which is why the finish and sealer are chosen with the room's lighting in mind.
Detail
Less wear than floors, but no fewer details.
Walls carry less mechanical wear than floors, which can change the build and the sealer. The quality of a microcement wall is still decided by how corners, edges, junctions and light are handled.
Corners and edges
External corners, reveals and exposed edges are prepared so the finish wraps cleanly. Edges are more exposed to impact, so their position and use are considered early.
Junctions
Meeting points with joinery, windows, floors, tiles and fixtures are planned before decorative layers begin.
Light and texture
Raking light from windows or downlights exaggerates texture, so the finish is chosen with the room's lighting in mind.
Sealer and sheen
Wall sealers are often matt, but splashback zones and frequently touched areas may need protection chosen for staining and cleaning.
Wall guides
Microcement wall planning guides.
Background reading for microcement walls, finishes and connected spaces in Melbourne and Victoria.
Substrate preparation
Joints, cracks, coatings and moisture checked before the finish.
Microcement over tiles
When existing tiles can stay and what preparation they need.
Wall finishes
Colour, texture and sheen inspiration for walls and built forms.
Microcement bathrooms
Wet-area walls with waterproofing and sealers kept distinct.
Microcement floors
Continue the finish across floors and stairs.
Microcement FAQs
Answers on substrates, kitchens, benchtops and care.
Questions about microcement walls
Can microcement be used on floors, walls and ceilings?
Yes, where the substrate and selected system are suitable. Floors usually require more attention to stability, reinforcement, wear and protection. Walls and ceilings experience different loads but still require compatible preparation, particularly across joints, sheet substrates and existing coatings.
Can microcement be used in kitchens and splashbacks?
Microcement can be considered for suitable kitchen walls, splashback zones and built forms. The specification should account for water, heat, staining, cleaning and impact at the proposed location. Substrate preparation and sealer selection are part of that decision rather than separate finishing details.
Can microcement be used on benchtops and vanities?
It can be considered for suitable benchtops and vanities when the base is stable and the complete system is specified for the expected water, staining, heat, impact and cleaning conditions. These surfaces need application-specific preparation and protection rather than a standard wall build.
Can microcement be applied to stairs, furniture and joinery?
Microcement can be considered for suitable stairs, furniture and joinery. Edges, joints, movement, impact and the construction of the item need to be assessed before a system is selected. A decorative coating cannot make an unstable or flexible base suitable by itself.
Plan a wall finish for your project.
Tell us about the wall construction, location and finish you are trying to achieve.